How to Create a Skybox with Three.js
March 27, 2020
Skyboxes are typically used in video games to create the illusion of far off three-dimensional backgrounds. A skybox is essentially a cube with textures on each side of the cube. The player or camera is then placed within the cube so that all six textures surround them giving them the illusion that they're within a much larger environment. reactnativeinfinity.com makes use of this technique to create the illusion of spinning in space. The Codepen below has a few different skyboxes you can try out. Click and drag the screen to move around.
Three.js setup
First, set up a scene, camera, and renderer within an init function we will call to initialize Three.js. We'll use a PerspectiveCamera with a position that is zoomed out pretty far so we can see the box before jumping in. We'll also use the THREE.WEbGLRenderer and append it to the body of the page. Finally, the animate function will handle rerendering the scene with any updates we add.
1.let scene, camera, renderer, skyboxGeo, skybox;2.function init() {3.scene = new THREE.Scene();4.camera = new THREE.PerspectiveCamera(5. 55,6. window.innerWidth / window.innerHeight,7. 45,8. 300009.);10.camera.position.set(1200, -250, 20000);11.12.renderer = new THREE.WebGLRenderer({ antialias: true });13.renderer.setSize(window.innerWidth, window.innerHeight);14.renderer.domElement.id = "canvas";15.document.body.appendChild(renderer.domElement);16.animate();17.}18.function animate() {19.renderer.render(scene, camera);20.requestAnimationFrame(animate);21.}22.23.init();
Import the core Three.js library.
1.<script src="https://threejs.org/build/three.min.js"></script>
Set the body height to the viewport height and add a grey background to the body so we can see the cube.
1.body {2. margin: 0;3. height: 100vh;4. background: #bdc3c7;5.}
Since we haven't added any objects we'll only see a grey background right now.
Add Three.js box
We can add a box with THREE.BoxGeometry with width, height, and depth set to 10000. Then use THREE.Mesh to apply a texture to it, in this case, it will default to a pure white texture. Finally, add the object to the scene before calling the animate function within the init function.
1.function init() {2. ...3. skyboxGeo = new THREE.BoxGeometry(10000, 10000, 10000);4. skybox = new THREE.Mesh(skyboxGeo);5. scene.add(skybox);6.7. animate();

Even though it's a cube, it looks like a square because we're viewing it straight on. To verify it is a cube we can add a rotation animation within the animate function:
1.function animate() {2. skybox.rotation.x += 0.005;3. skybox.rotation.y += 0.005;4. renderer.render(scene, camera);5. requestAnimationFrame(animate);6.}

Skybox Mesh Material
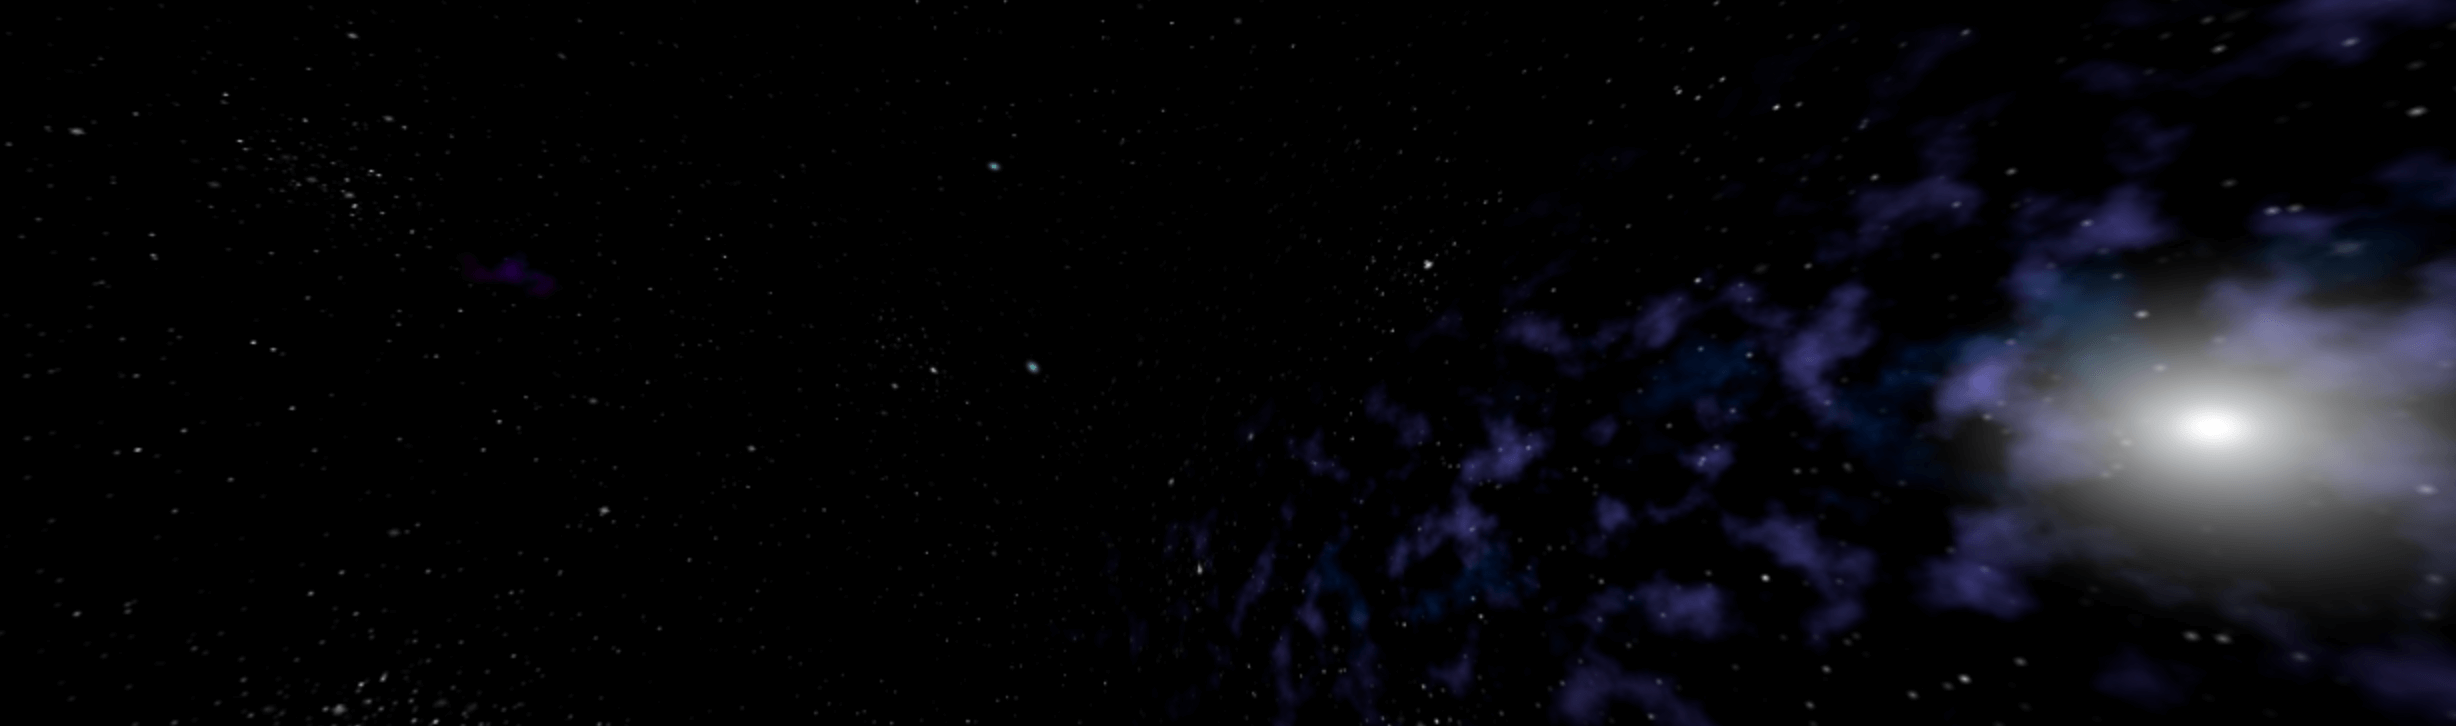
You can find free skybox images on opengameart.org or you can search Google for "free skybox images". There should be six images that correspond to each side of the cube that seamlessly mesh together. For example, for React Native Infinity, the six space images correspond to different sides as shown below.
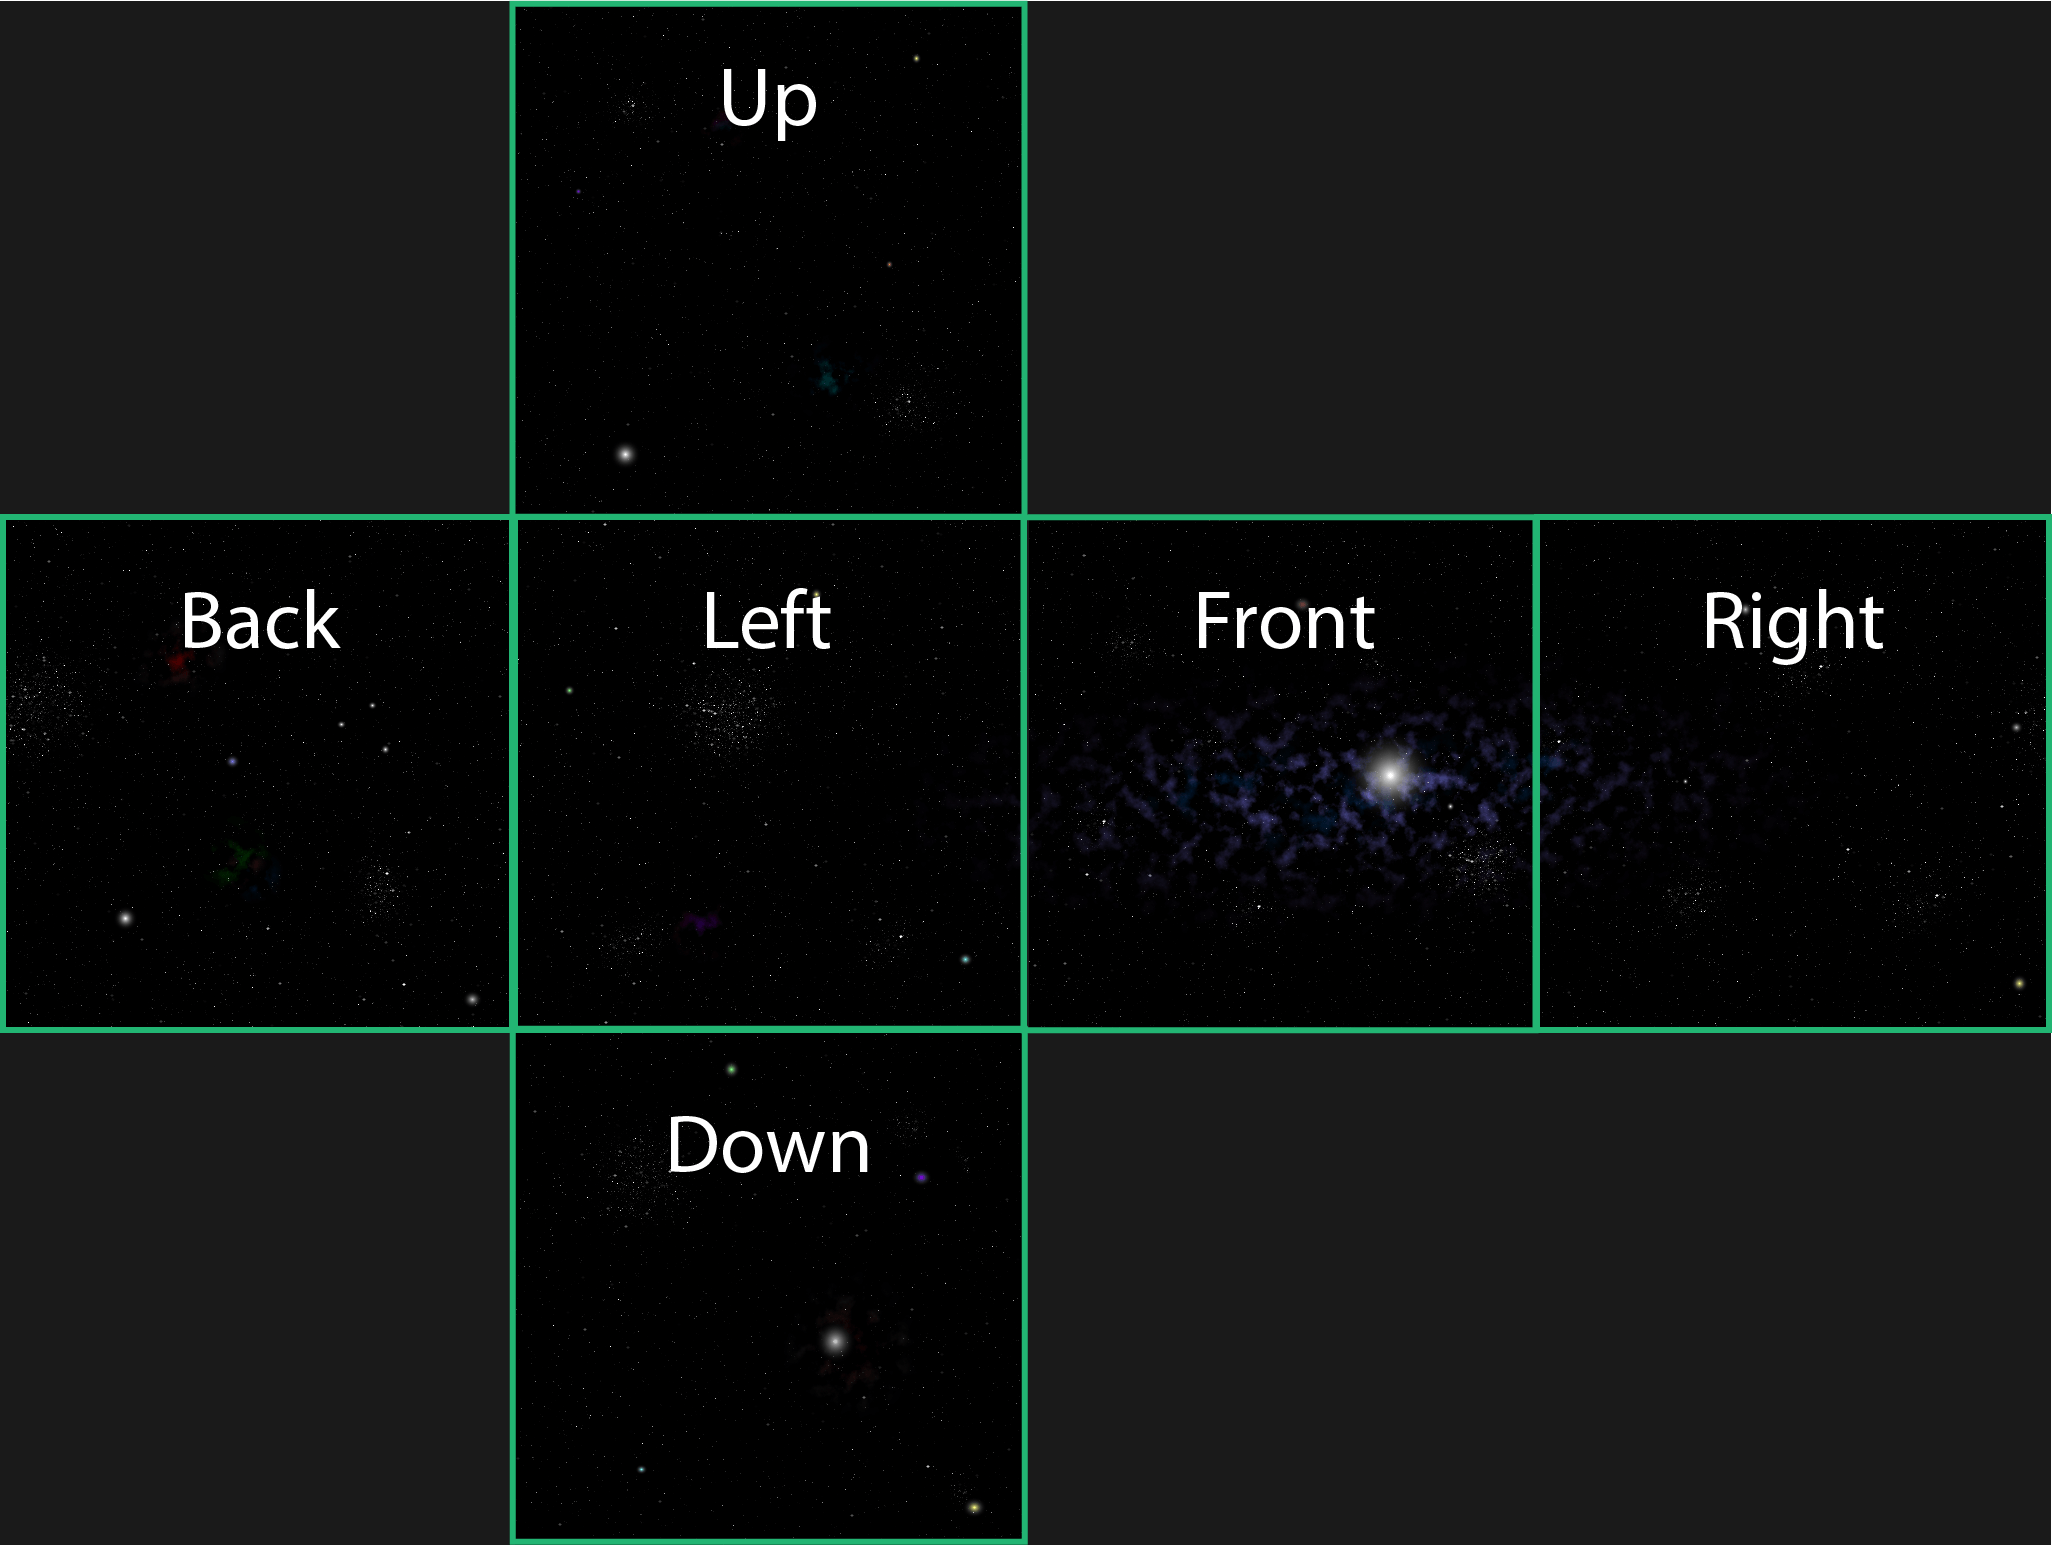
Each image should be named according to the side which they correspond to, for example, purplenebula_ft.png is the front image, purplenebula_rt.png is the right image, and purplenebula_dn.png is the bottom image. There are three steps we need to follow to add these images to our cube:.
- Load each image as a Texture
- Map each Texture to a Material array
- Add Material array to the Skybox cube
1. Load Images as Textures
Textures can be loaded in Three.js using the TextureLoader().load() function. The load() method takes the path of the image as a parameter. We could load each image by creating six TextureLoader() functions, like this:
1.const ft = new THREE.TextureLoader().load("purplenebula_ft.jpg");2.const bk = new THREE.TextureLoader().load("purplenebula_bk.jpg");3.const up = new THREE.TextureLoader().load("purplenebula_up.jpg");4.const dn = new THREE.TextureLoader().load("purplenebula_dn.jpg");5.const rt = new THREE.TextureLoader().load("purplenebula_rt.jpg");6.const lf = new THREE.TextureLoader().load("purplenebula_lf.jpg");
But it would be better to create a reusable function that loops through all of our images for us. Create a function createPathStrings() that will create an array of path strings from a file image name, filename.
1.function createPathStrings(filename) {2.const basePath = "./static/skybox/";3.const baseFilename = basePath + filename;4.const fileType = ".png";5.const sides = ["ft", "bk", "up", "dn", "rt", "lf"];6.const pathStings = sides.map(side => {7. return baseFilename + "_" + side + fileType;8.});9.10.return pathStings;11.}
This should create an array of strings that represent the path to each image:
1.['./static/skybox/purplenebula_ft.jpg', './static/skybox/purplenebula_bk.jpg', ...]2.
Next, load each texture using TextureLoader().load() by mapping over the array above. Let's create another function, createMaterialArray(), to generate a new array of loaded textures. We will also pass in the filename parameter into the createPathStrings function.
1.let skyboxImage = "purplenebula";2.function createMaterialArray(filename) {3. const skyboxImagepaths = createPathStrings(filename);4. const materialArray = skyboxImagepaths.map(image => {5. let texture = new THREE.TextureLoader().load(image);6.7. return texture;8. });9. return materialArray;10.}11.
2. Map each Texture to a Mesh array
The MeshBasicMaterial() Three.js method will allow us to map our textures above to a Three.js material. Instead of creating another function to do this, we can simply modify the createMaterialArray() function to return a Three.js material instead of the loaded texture.
1.function createMaterialArray(filename) {2.const skyboxImagepaths = createPathStrings(filename);3.const materialArray = skyboxImagepaths.map(image => {4. let texture = new THREE.TextureLoader().load(image);5.6. return new THREE.MeshBasicMaterial({ map: texture, side: THREE.BackSide }); // <---7.});8.return materialArray;9.}10.
3. Add Mesh array to the Skybox cube
We're finally ready to add our mesh array to the cube we created above. First, create a variable, skyboxImage, with the base file name. Pass that variable into the createMaterialArray to generate our mesh array. Finally, pass that array into the second parameter of the new Three.Mesh() function.
1.const skyboxImage = 'purplenebula';2.3.function init() {4....5.6. const materialArray = createMaterialArray(skyboxImage);7. skyboxGeo = new THREE.BoxGeometry(10000, 10000, 10000);8. skybox = new THREE.Mesh(skyboxGeo, materialArray);9. scene.add(skybox);10.11. animate();12.}13.
Our cube should now have the mesh array, click the "Outside Box" button to see how this should look.
Place camera inside the cube
We can change the camera's z position from 20000 to 2000 to put the camera inside the cube.
1.function init()2....3.camera.position.set(1200, -250, 2000);4....5.}6.
Orbit Controls
While the above works to put us inside the cube, it would be better if could control the camera with the mouse and look around the environment. The Orbit Controls package for Three.js allows us to do that add a script tag import:
1.<script src="https://threejs.org/build/three.min.js"></script>2.<script src="https://threejs.org/examples/js/controls/OrbitControls.js"></script>3.
First, add another variable named controls to the initialization at the top. Then assign that variable to the OrbitControls method while passing in the camera and domElement. Enable the controls by setting controls.enabled to true. Finally, set a minDistance and maxDistance so that the user cannot zoom outside of the cube.
1.let scene, camera, renderer, skyboxGeo, skybox, controls;2.3.function init() {4. ...5.6. controls = new THREE.OrbitControls(camera, renderer.domElement);7. controls.enabled = true;8. controls.minDistance = 700;9. controls.maxDistance = 1500;10.11. ...12. animate();13.}
Next, remove the rotation in the animate()() function and add controls.update()();
1.function animate() {2. controls.update();3. renderer.render(scene, camera);4. requestAnimationFrame(animate);5. }
You should now be able to click and drag the environment around to see whatever part you want. If you want the environment to rotate again, like you're in space rotating, you can use the autoRotate property:
1.function init() {2....3.4.controls = new THREE.OrbitControls(camera, renderer.domElement);5.controls.enabled = true;6.controls.minDistance = 700;7.controls.maxDistance = 1500;8.controls.autoRotate = true;9.controls.autoRotateSpeed = 1.0;10....11.animate();12.}
Resize window
If you resize your browser window after initialization the canvas will not resize to fit the new window size. To fix this create a function to redefine the camera.aspect and renderer size to the height and width of the window:
1.function onWindowResize() {2.camera.aspect = window.innerWidth / window.innerHeight;3.4.camera.updateProjectionMatrix();5.renderer.setSize(window.innerWidth, window.innerHeight);6.}
Then add an event listener on the window resize event and pass this new function. Add this event listener to the init() function right above the animate() call.
1.function init() {2....3.window.addEventListener('resize', onWindowResize, false);4.animate();5.}
The canvas will now resize with the window.
Conclusion
Skyboxes are a neat way to create the illusion of a 3d environment quickly. Although generally used for video games, there might be some creative ways you could implement them in a web project.
You Might Also Like
A Walkable Christmas Scene built with ThreeJS
A simple Christmas Scene built with ThreeJS that you can walk and jump around in.
How I Built an Oreo Generator with 1.1 Sextillion Combinations
Building a web app that generates 1,140,145,285,551,550,231,122 possible Oreo flavor combinations using NestJS and TypeScript.
How to Build a Bitcoin DCA Chart with React and Recharts
Learn how to use the Recharts charting library by building a Bitcoin Dollar Cost Averaging Chart in React using CoinGecko's API.