Use Front Matter Images for Twitter Card Images in GatsbyJS
February 07, 2020
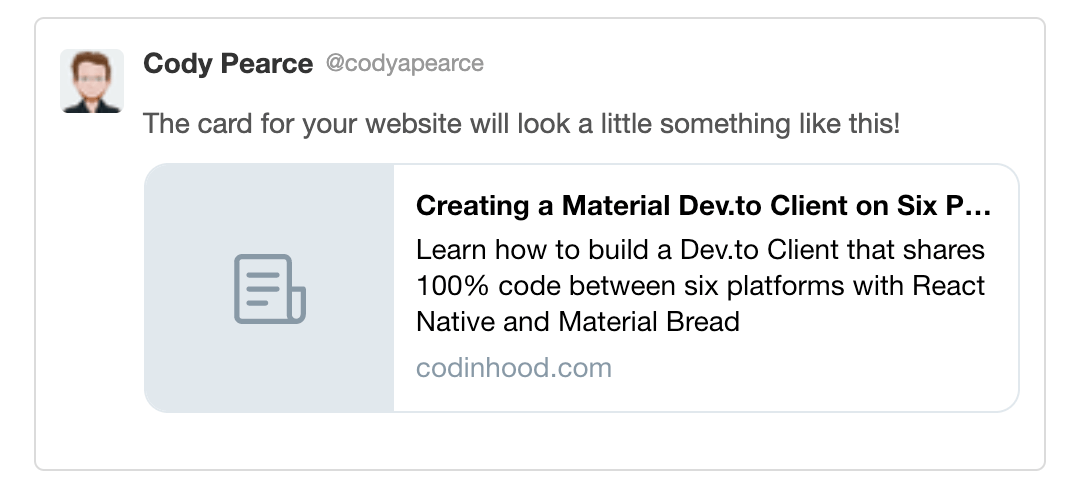
Although there are some excellent packages to automatically generate Twitter cards with Gatsby, like gatsby-remark-twitter-cards, some articles might have more success with custom thumbnail images. For example, without image:
With image:
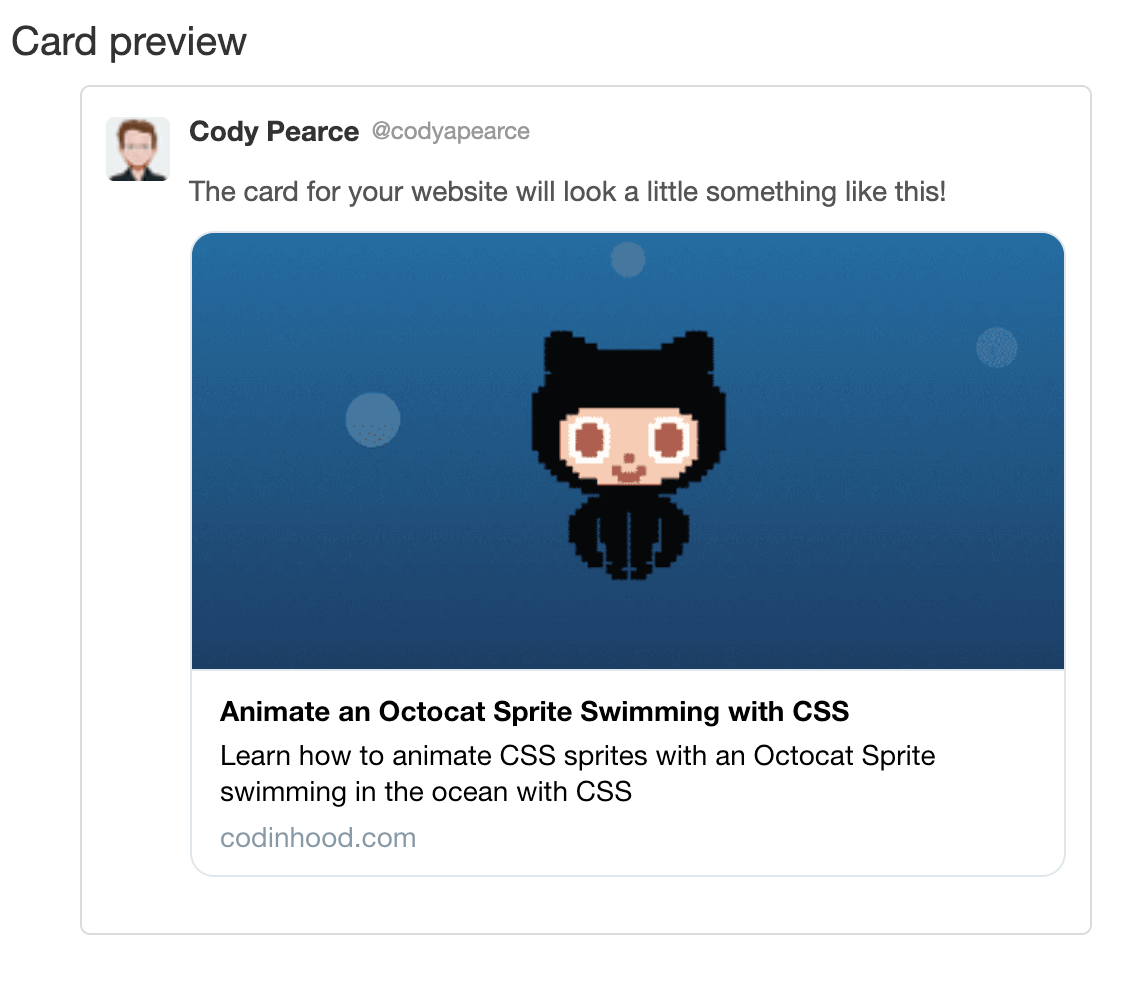
This tutorial will show you an easy way to add thumbnail images for Twitter cards to your Gatsby blog.
Setup
The method described below requires a few packages like react-helmet, gatsby-source-filesystem, gatsby-transformer-remark, gatsby-remark-images, and gatsby-transformer-sharp. Luckily, the gatsby-starter-blog template comes with all of these packages preinstalled and configured so we will use this template to illustrate. First set up a new repo using gatsby new according to the documentation:
1.gatsby new my-blog-starter https://github.com/gatsbyjs/gatsby-starter-blog
Everything is already set up and configured so there's nothing else we need to do to get started.
Adding the image and front matter property
Our goal is to define an image in the front matter of one of our posts and pass that data to the blog-post template and finally to the SEO component where it will be added to the appropriate meta tags.
The gatsby-starter-blog stores blog articles in the content/blog folder. At this point, we can add an image to the hello-world folder or use the image, salty_egg.jpg, that comes with the template.
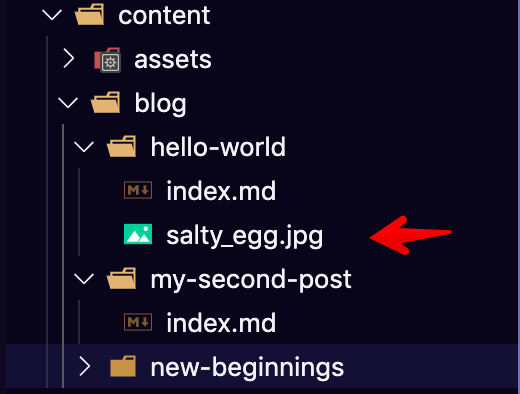
Open content/blog/hello-world/index.md and add a new front matter property named thumbnail with a string that points to the image file:
1.---2.title: Hello World3.date: "2015-05-01T22:12:03.284Z"4.description: "Hello World"5.thumbnail: './salty_egg.jpg'6.---
Accessing the thumbnail image in the blog-template
Next, we need to access the thumbnail image within the `blog-post` template and pass it to the SEO component. Go to `src/templates/blog-post.js` and scroll down to the `pageQuery` variable at the bottom of the file. Notice that we're grabbing the front matter data `title`, `date`, and `description`. To grab the `thumbnail` property we need to add the following right below `description`.
1.export const pageQuery = graphql`2.query BlogPostBySlug($slug: String!) {3. site {4. siteMetadata {5. title6. }7. }8. markdownRemark(fields: { slug: { eq: $slug } }) {9. id10. excerpt(pruneLength: 160)11. html12. frontmatter {13. title14. date(formatString: "MMMM DD, YYYY")15. description16. thumbnail {17. childImageSharp {18. sizes(maxWidth: 600) {19. ...GatsbyImageSharpSizes20. }21. }22. }23. }24. }25.}26.`;
Sharp will process the image and provide various sizes that are smaller than the maxWidth we pass into sizes.
Next, go to the BlogPostTemplate component within the same file. Our goal is to pass the thumbnail to the SEO component within this template, so first pull the thumbnail property from the markdownRemark data and frontmatter object.
1....2.const BlogPostTemplate = ({ data, pageContext, location }) => {3. const post = data.markdownRemark4. const siteTitle = data.site.siteMetadata.title5. const { previous, next } = pageContext6. const thumbnail = post.frontmatter.thumbnail // <---7. ...8.}
Then pass the thumbnail into the SEO component below the title and description props.
1.<SEO2.title={post.frontmatter.title}3.description={post.frontmatter.description || post.excerpt}4.thumbnail={thumbnail}5./>
Passing Thumbnail in Meta Tags
The final step is to set the image in the twitter meta tags within the seo component. Open src/components/seo.js and pull in the thumbnail property.
1.const SEO = ({ description, lang, meta, title, thumbnail }) => {
The twitter:image meta tag requires the full URL for the thumbnail image. We can get the image src from the thumbnail object which will look something like this:
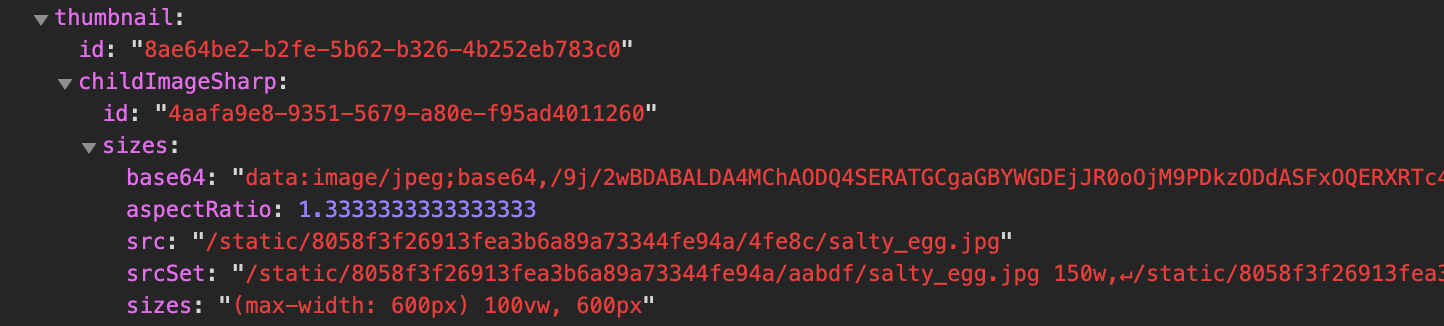
Create a variable to hold the src string, but make sure to check that there actually is a thumbnail for that article as well. Otherwise, Gatsbyjs will crash on articles that do not have thumbnails because it will be looking for childImageSharp of an undefined object.
1.const imageSrc = thumbnail && thumbnail.childImageSharp.sizes.src;
Now that we have the location of the image on the site, we need to add the full domain to the imageSrcstring to create the full URL for the image. We can get the domain origin from the window object: window.location.origin. However, Gatsby builds often throw errors when window is undefined in that environment. So we need to do a quick check to make sure window is not undefined.
1.let origin = "";2.if (typeof window !== "undefined") {3. origin = window.location.origin;4.}
Next, we can create the full URL for the image by concatenating the two variables.
1.const image = origin + imageSrc;
Finally, add the Twitter meta tag, twitter:image, to the array of tags with the content property pointing to the image variable defined above.
1.{2. name: `twitter:image`,3. content: image,4.},
Conclusion
Now when you add a custom thumbnail to a blog post and share the link on Twitter the thumbnail will display with the card. Additionally, you can test how your cards will display by using the Twitter Card Validator.
You Might Also Like

Introducing React SPA, the Framework™
Tired of SRR? Save time by building a SPA. It's not just a framework; it's the absence of one.
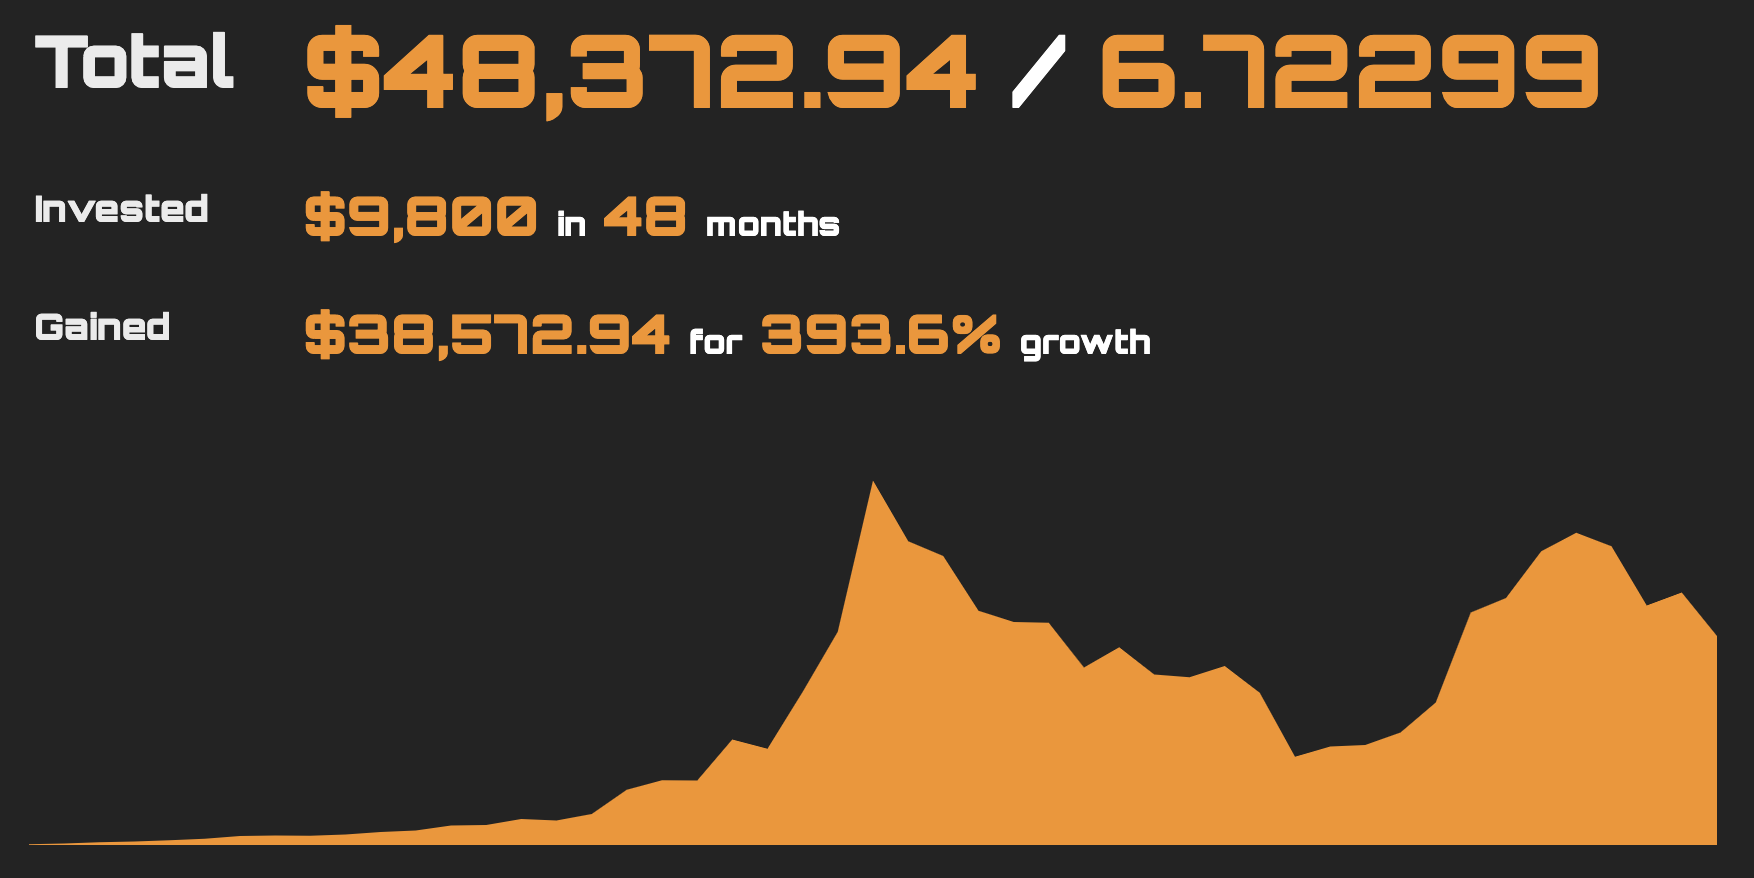
How to Build a Bitcoin DCA Chart with React and Recharts
Learn how to use the Recharts charting library by building a Bitcoin Dollar Cost Averaging Chart in React using CoinGecko's API.

Visualizing the 71 Times Apple Has Been Declared Dead with React and Nivo
Apple Doomsayers have declared the death of Apple over 71 times in the last few decades. Using data from the Mac Observer's Apple Death Knell Counter we'll learn how to visualize these deaths using React and Nivo charts